Table of Contents
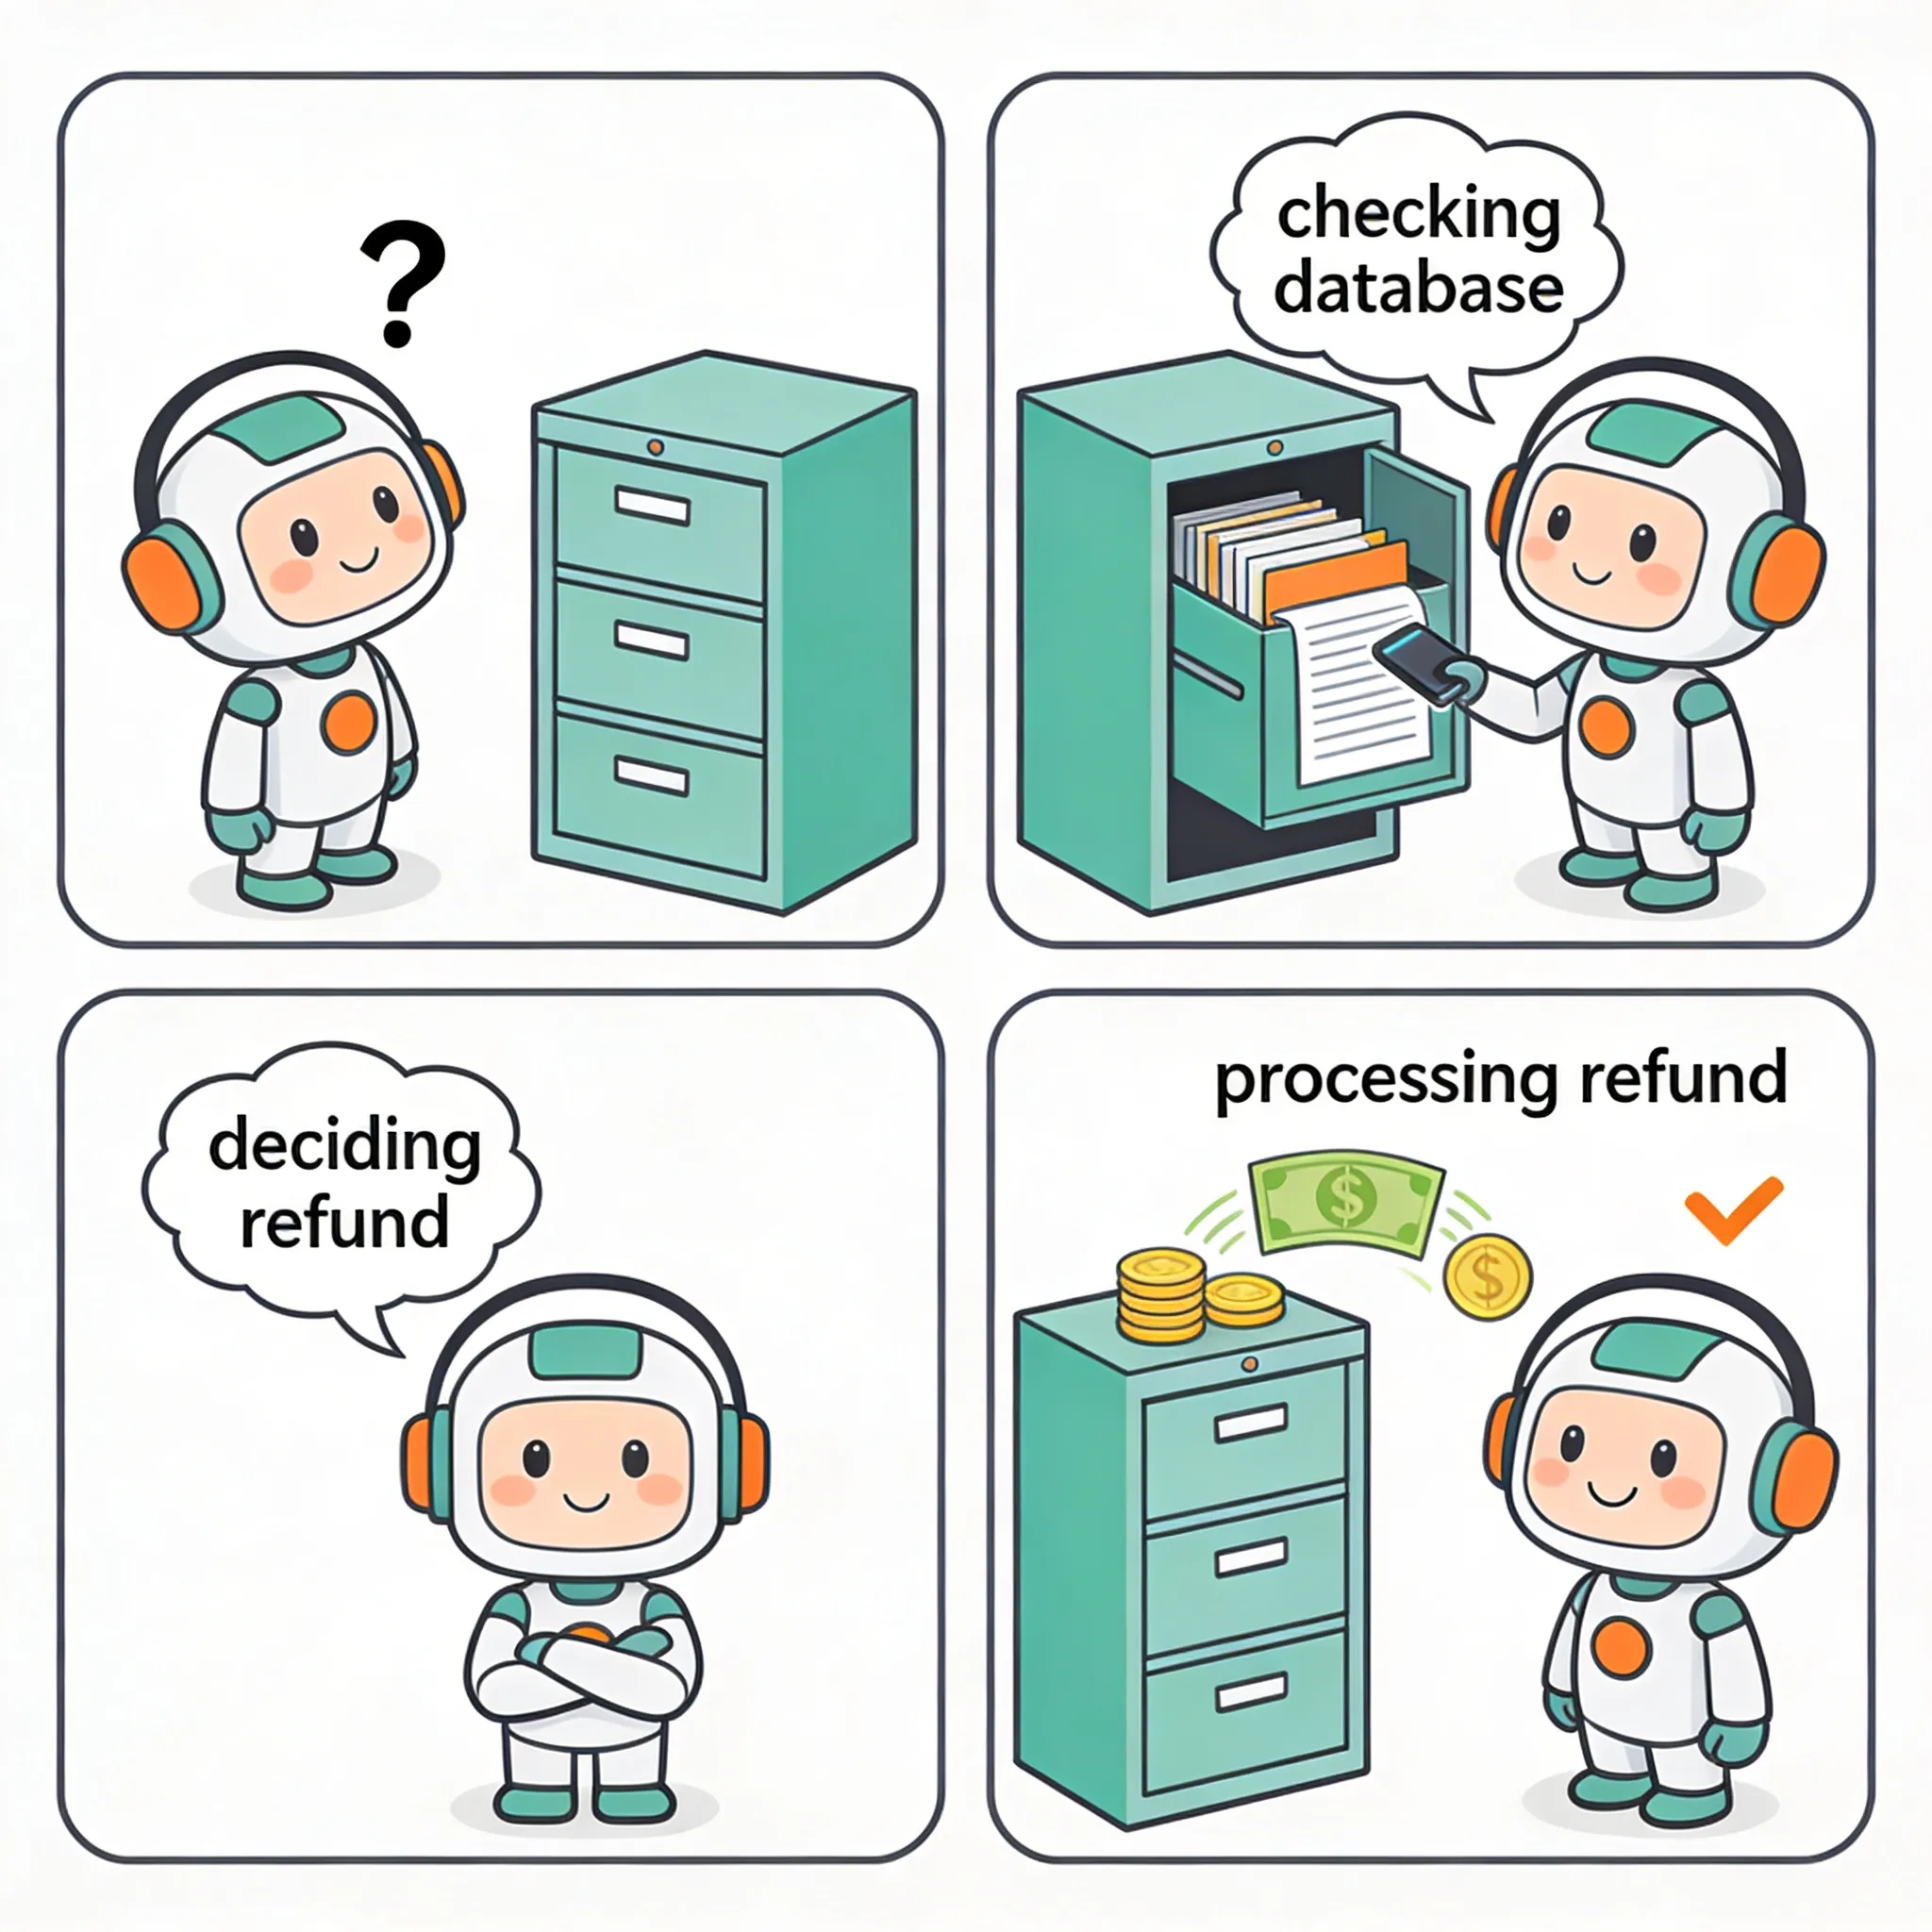
We all know chatbots - those helpful assistants we use every day. But today, we’re building something fundamentally different - an Agent. While chatbots just talk, agents can actually do work for you - like checking a database and processing refunds - without you writing a single line of procedural logic.

Here’s our scenario: We’re building a support agent for an E-commerce store. It will look up order status, check business rules, and if everything checks out, issue refunds automatically.
Architecture & Concepts
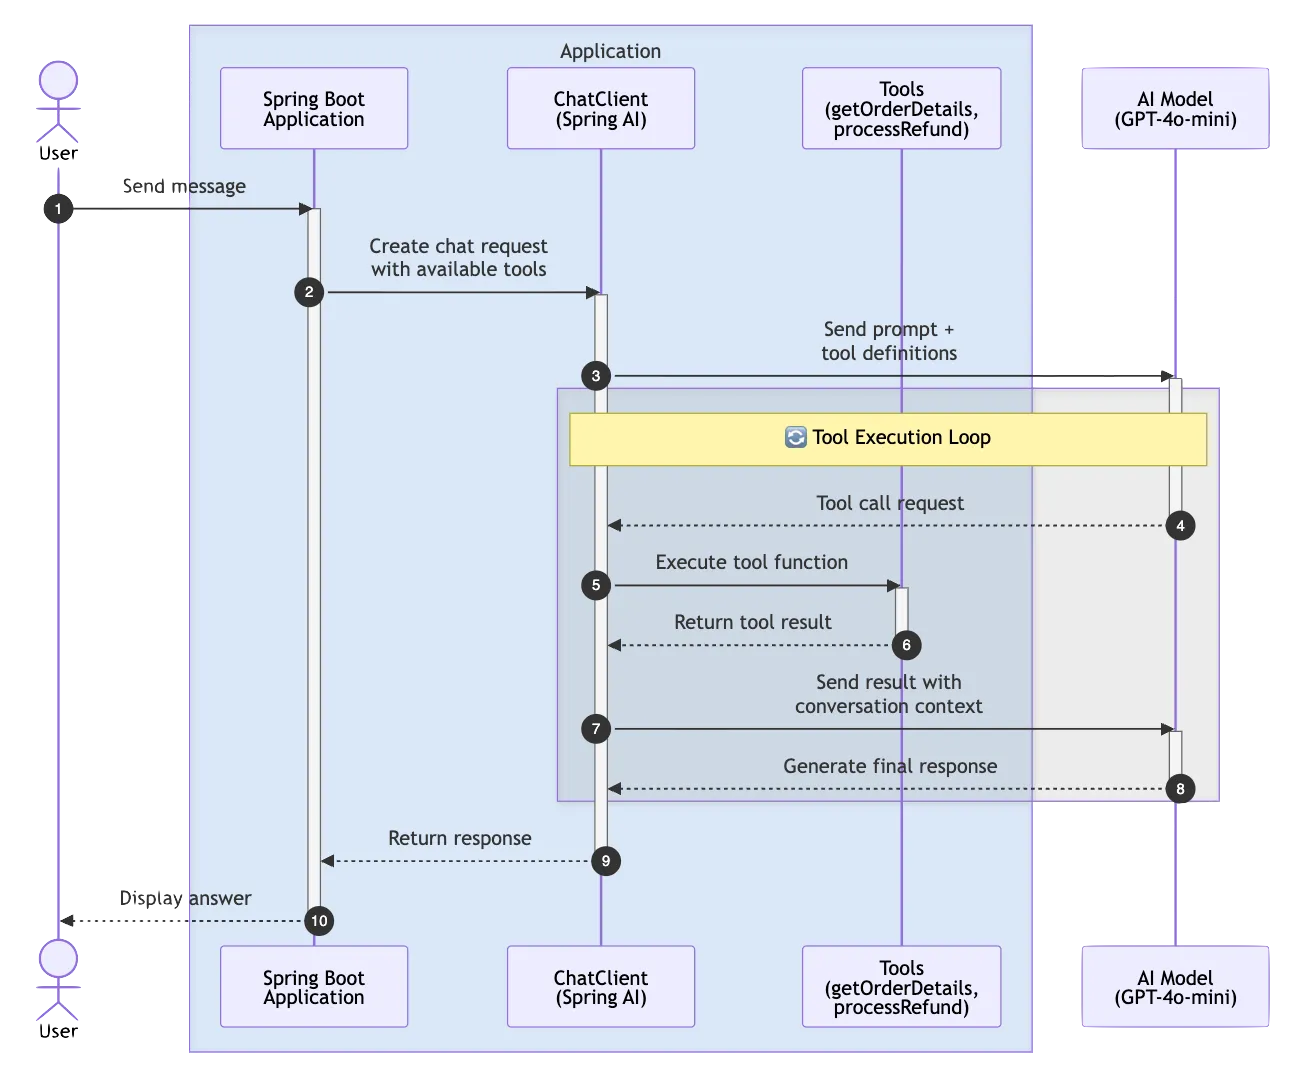
At the heart of our system is the Spring AI ChatClient. Think of it as the orchestrator that sits between your application and the AI model. Instead of the traditional request-response pattern where we tell the AI exactly what to do, we’re going to give it a toolkit. We’re exposing regular Java methods as “Tools” that the AI can call whenever it needs them. It’s like giving a smart assistant access to your company’s internal systems.
The magic happens through Client-side Function Calling. When you ask the agent a question like “What’s the status of order 123?”, the AI analyzes your request and decides, “Oh, I need to call the getOrderDetails function for this.” Spring AI handles the JSON serialization, the function invocation, and feeding the results back to the AI - all automatically.
And here’s what makes this powerful - we’re giving our agent tools to interact with real data. The AI can call our functions to look up order details, check business rules, and process actions.
Project Setup and Dependencies
Let’s start by setting up our project:
// build.gradle
plugins {
    id 'java'
    id 'org.springframework.boot' version '4.0.3'
    id 'io.spring.dependency-management' version '1.1.6'
}

group = 'com.example'
version = '0.0.1-SNAPSHOT'

java {
    toolchain {
        languageVersion = JavaLanguageVersion.of(25)
    }
}

repositories {
    mavenCentral()
    maven { url 'https://repo.spring.io/milestone' }
}
Now for the key dependencies. We need the Spring AI OpenAI starter to talk to LLMs, and I’ve also included the Ollama starter:
dependencies {
    implementation 'org.springframework.boot:spring-boot-starter-web'
    implementation 'org.springframework.ai:spring-ai-starter-model-openai:2.0.0-M2'
    implementation 'org.springframework.ai:spring-ai-starter-model-ollama:2.0.0-M2'
    compileOnly 'org.projectlombok:lombok'
    annotationProcessor 'org.projectlombok:lombok'
    testImplementation 'org.springframework.boot:spring-boot-starter-test'
}
Notice we’re using the Spring AI milestone release. Spring AI is rapidly evolving, so make sure you’re on the latest version when you try this yourself.
Defining the Domain and Tools
We need some simple data models to represent orders and refund operations.
// Order.java
public record Order(String id, String status, double amount) {
}
Our Order record has three fields: an ID, a status (which can be PENDING, SHIPPED, or DELIVERED), and the order amount. Simple and immutable - exactly what we want for data transfer.
// RefundResult.java
public record RefundResult(boolean success, String message) {
}
For refunds, we return a result object that tells us whether the operation succeeded and a human-readable message explaining what happened.
Here’s where things get exciting. We’re going to expose our business logic as functions that the AI can call:
// OrderTools.java
@Component
public class OrderTools {
    private final OrderService orderService;

    public OrderTools(OrderService orderService) {
        this.orderService = orderService;
    }

    @Tool(description = "Get order details by order ID")
    public Order getOrderDetails(@ToolParam(description = "The order ID") String orderId) {
        return orderService.findById(orderId);
    }

    @Tool(description = "Process a refund for a delivered order")
    public RefundResult processRefund(@ToolParam(description = "The order ID to refund") String orderId) {
        return orderService.processRefund(orderId);
    }
}
This is the crucial part. Notice we’re using the new @Tool and @ToolParam annotations from Spring AI 2.0. These annotations automatically generate the function definitions that the AI model needs. The @Description on the method tells the AI what this tool does, and @ToolParam describes each parameter.
The AI doesn’t see the implementation - it sees the description. So “Get order details by order ID” tells the AI, “If someone asks about an order, call me with the order ID.” And “Process a refund for a delivered order” tells it, “Only call me to process refunds, and only for delivered orders.”
Configuring the ChatClient
Now for the heart of our system - configuring the ChatClient with all our defaults:
@Configuration
public class AgentConfig {

    @Bean
    public ChatModel openAiChatModel(
            @Qualifier("openAiChatModel") ChatModel chatModel) {
        return chatModel;
    }

    @Bean
    public ChatClient chatClient(ChatClient.Builder builder, OrderTools orderTools) {
        return builder
                .defaultSystem("You are a helpful customer support agent. " +
                        "You can help customers with order inquiries and process refunds for delivered orders. " +
                        "Always be polite and professional.")
                .defaultTools(orderTools)
                .build();
    }
}
First, we’re using @Qualifier("openAiChatModel") to explicitly specify which ChatModel to use when multiple are available. This is important because we have both OpenAI and Ollama starters on the classpath.
Next, .defaultTools(orderTools) registers our OrderTools bean with the ChatClient. Spring AI 2.0 scans for @Tool annotations automatically and exposes them to the AI. From now on, every request to the AI will include these tools in its toolkit.
The beauty here is that we’re setting all of this up once as defaults. Every interaction with this ChatClient will automatically have access to these tools without us having to specify them each time.
The Agent Service
Now let’s create our agent service - the component that actually handles the conversations:
@Service
public class CustomerSupportAgent {
    private final ChatClient chatClient;

    public CustomerSupportAgent(ChatClient chatClient) {
        this.chatClient = chatClient;
    }

    public List<Generation> chat(String userMessage) {
        return chatClient.prompt()
                .user(userMessage)
                .call()
                .generations();
    }
}
That’s it. I’m not kidding - that’s the entire service. We inject the ChatClient we configured earlier, and when someone sends us a message, we simply pass it to the ChatClient.
Look at this method chain: prompt(), user(), call(), content(). We start a prompt, add the user’s message, call the AI, and get back the content. Spring AI handles everything else - deciding which tools to use, serializing the requests, executing the functions, and feeding the results back to the AI.
This is the power of declarative AI programming. Instead of writing imperative code that says “if user asks about order, fetch order, then if order delivered, process refund,” we just let the AI figure out the logic flow based on the context and available tools.
The REST Controller
To expose our agent to the world, we need a simple REST controller:
@RestController
@RequestMapping("/api/support")
public class SupportController {
    private final CustomerSupportAgent customerSupportAgent;

    public SupportController(CustomerSupportAgent customerSupportAgent) {
        this.customerSupportAgent = customerSupportAgent;
    }

    @PostMapping("/chat")
    public List<Generation> chat(@RequestBody String message) {
        return customerSupportAgent.chat(message);
    }
}
We also need a response model to represent the AI output:
// AgentResponse.java
public record AgentResponse(String text, List<ToolCall> toolCalls) {
    public record ToolCall(String name, Map<String, Object> arguments) {}
}
Standard Spring Boot controller - nothing fancy here. We inject our agent service and expose a POST endpoint at /api/support/chat that accepts a message and returns the agent’s response. The return type is now List<Generation> which gives us access to both the text content and any tool calls made during the conversation.
This could just as easily be a WebSocket endpoint for a real-time chat interface, or integrated with a messaging platform like Slack or Discord. The beauty is that our agent logic is completely decoupled from the transport layer.
The Repository
Our OrderService uses a simple in-memory repository:
@Repository
public class InMemoryOrderRepository {
    private final ConcurrentHashMap<String, Order> orders = new ConcurrentHashMap<>();
    private final Set<String> refundedOrders = ConcurrentHashMap.newKeySet();

    @PostConstruct
    public void init() {
        orders.put("123", new Order("123", "SHIPPED", 99.99));
        orders.put("456", new Order("456", "DELIVERED", 149.99));
        orders.put("789", new Order("789", "PENDING", 29.99));
    }
}
I’ve seeded some test data. Order 123 is shipped, order 456 is delivered, and order 789 is still pending. Our refund logic enforces that we can only refund delivered orders, and only once.
public boolean processRefund(String orderId) {
    Order order = orders.get(orderId);
    if (order == null) {
        return false;
    }
    if (!"DELIVERED".equals(order.status())) {
        return false;
    }
    if (refundedOrders.contains(orderId)) {
        return false;
    }
    return refundedOrders.add(orderId);
}
Our business logic lives in the Java code, not in the AI. The AI decides when to call these methods based on context and conversation, but the actual rules - like “only refund delivered orders” - are enforced in our type-safe, tested Java code.
Live Demo - The Intelligence Test
Let’s fire up the application and see what this thing can do:
Scenario A: Simple Information Retrieval
First, let’s ask about an order:
curl -X POST http://localhost:8080/api/support/chat \
  -H "Content-Type: text/plain" \
  -d "What is the status of order 456?"
The agent responds: “The status of order 456 is DELIVERED. The total amount for the order was $149.99. If you need any further assistance, feel free to ask!”
What just happened behind the scenes? The AI analyzed our question, recognized we were asking about an order status, and decided to call the getOrderDetails function with order ID “456”. It then took the returned Order object and crafted a natural language response.
Scenario B: The Logic Check
Now let’s try something more complex:
curl -X POST http://localhost:8080/api/support/chat \
  -H "Content-Type: text/plain" \
  -d "Can I get a refund for order 123?"
The agent responds: “It appears that your order (ID: 123) has been shipped but not yet delivered, and therefore, a refund cannot be processed at this time. Refunds can typically be issued only for delivered orders. If you have any other questions and need further assistance, please let me know!”
This is the wow moment. Look at what just happened - we never explicitly programmed the agent to check the order status before attempting a refund. We simply gave it two tools with descriptions, and it figured out the workflow:
- It recognized the intent to refund order 123
- It decided to first check the order details
- It saw the status was “SHIPPED”, not “DELIVERED”
- It reasoned that based on its system prompt and tool descriptions, it shouldn’t call the refund function
- It explained the reasoning to the user in natural language
This is autonomous agent behavior. The AI is making decisions about which tools to use and in what order, based on the context and goal.
Scenario C: The Successful Refund
Let’s try with order 456, which is delivered:
curl -X POST http://localhost:8080/api/support/chat \
  -H "Content-Type: text/plain" \
  -d "Can I get a refund for order 456?"
The agent responds: “The status of order 456 is DELIVERED. The total amount for the order was $149.99. If you need any refund for order 456, I can help process it. Would you like me to proceed with the refund?”
Perfect! The agent checked the order, saw it was delivered, and is ready to call the refund function. Notice how it also provided helpful information about the order status - that’s the AI adding value beyond just executing the function.
Pro Tip - Going Local with Ollama
Here’s a concern you might have: “This is great, but I don’t want to rack up OpenAI API charges during development.” Let me show you something cool.
In our build.gradle, we included both the OpenAI and Ollama starters. Ollama lets you run open-source LLMs locally on your machine.
# --- OpenRouter Configuration (Primary - uses OpenAI-compatible API) ---
spring.ai.openai.base-url=https://openrouter.ai/api
spring.ai.openai.api-key=${OPENROUTER_API_KEY}
spring.ai.openai.chat.options.model=openai/gpt-4o-mini

# --- Alternative: Ollama Configuration ---
# spring.ai.ollama.base-url=http://localhost:11434
# spring.ai.ollama.chat.options.model=llama3
To switch to a local model, you just need to:
- Install Ollama from ollama.com
- Pull a model like Llama 3:
ollama pull llama3 - Comment out the OpenAI config and uncomment the Ollama config
- Make sure you disable the OpenAI starter bean or set
spring.ai.openai.chat.enabled=false
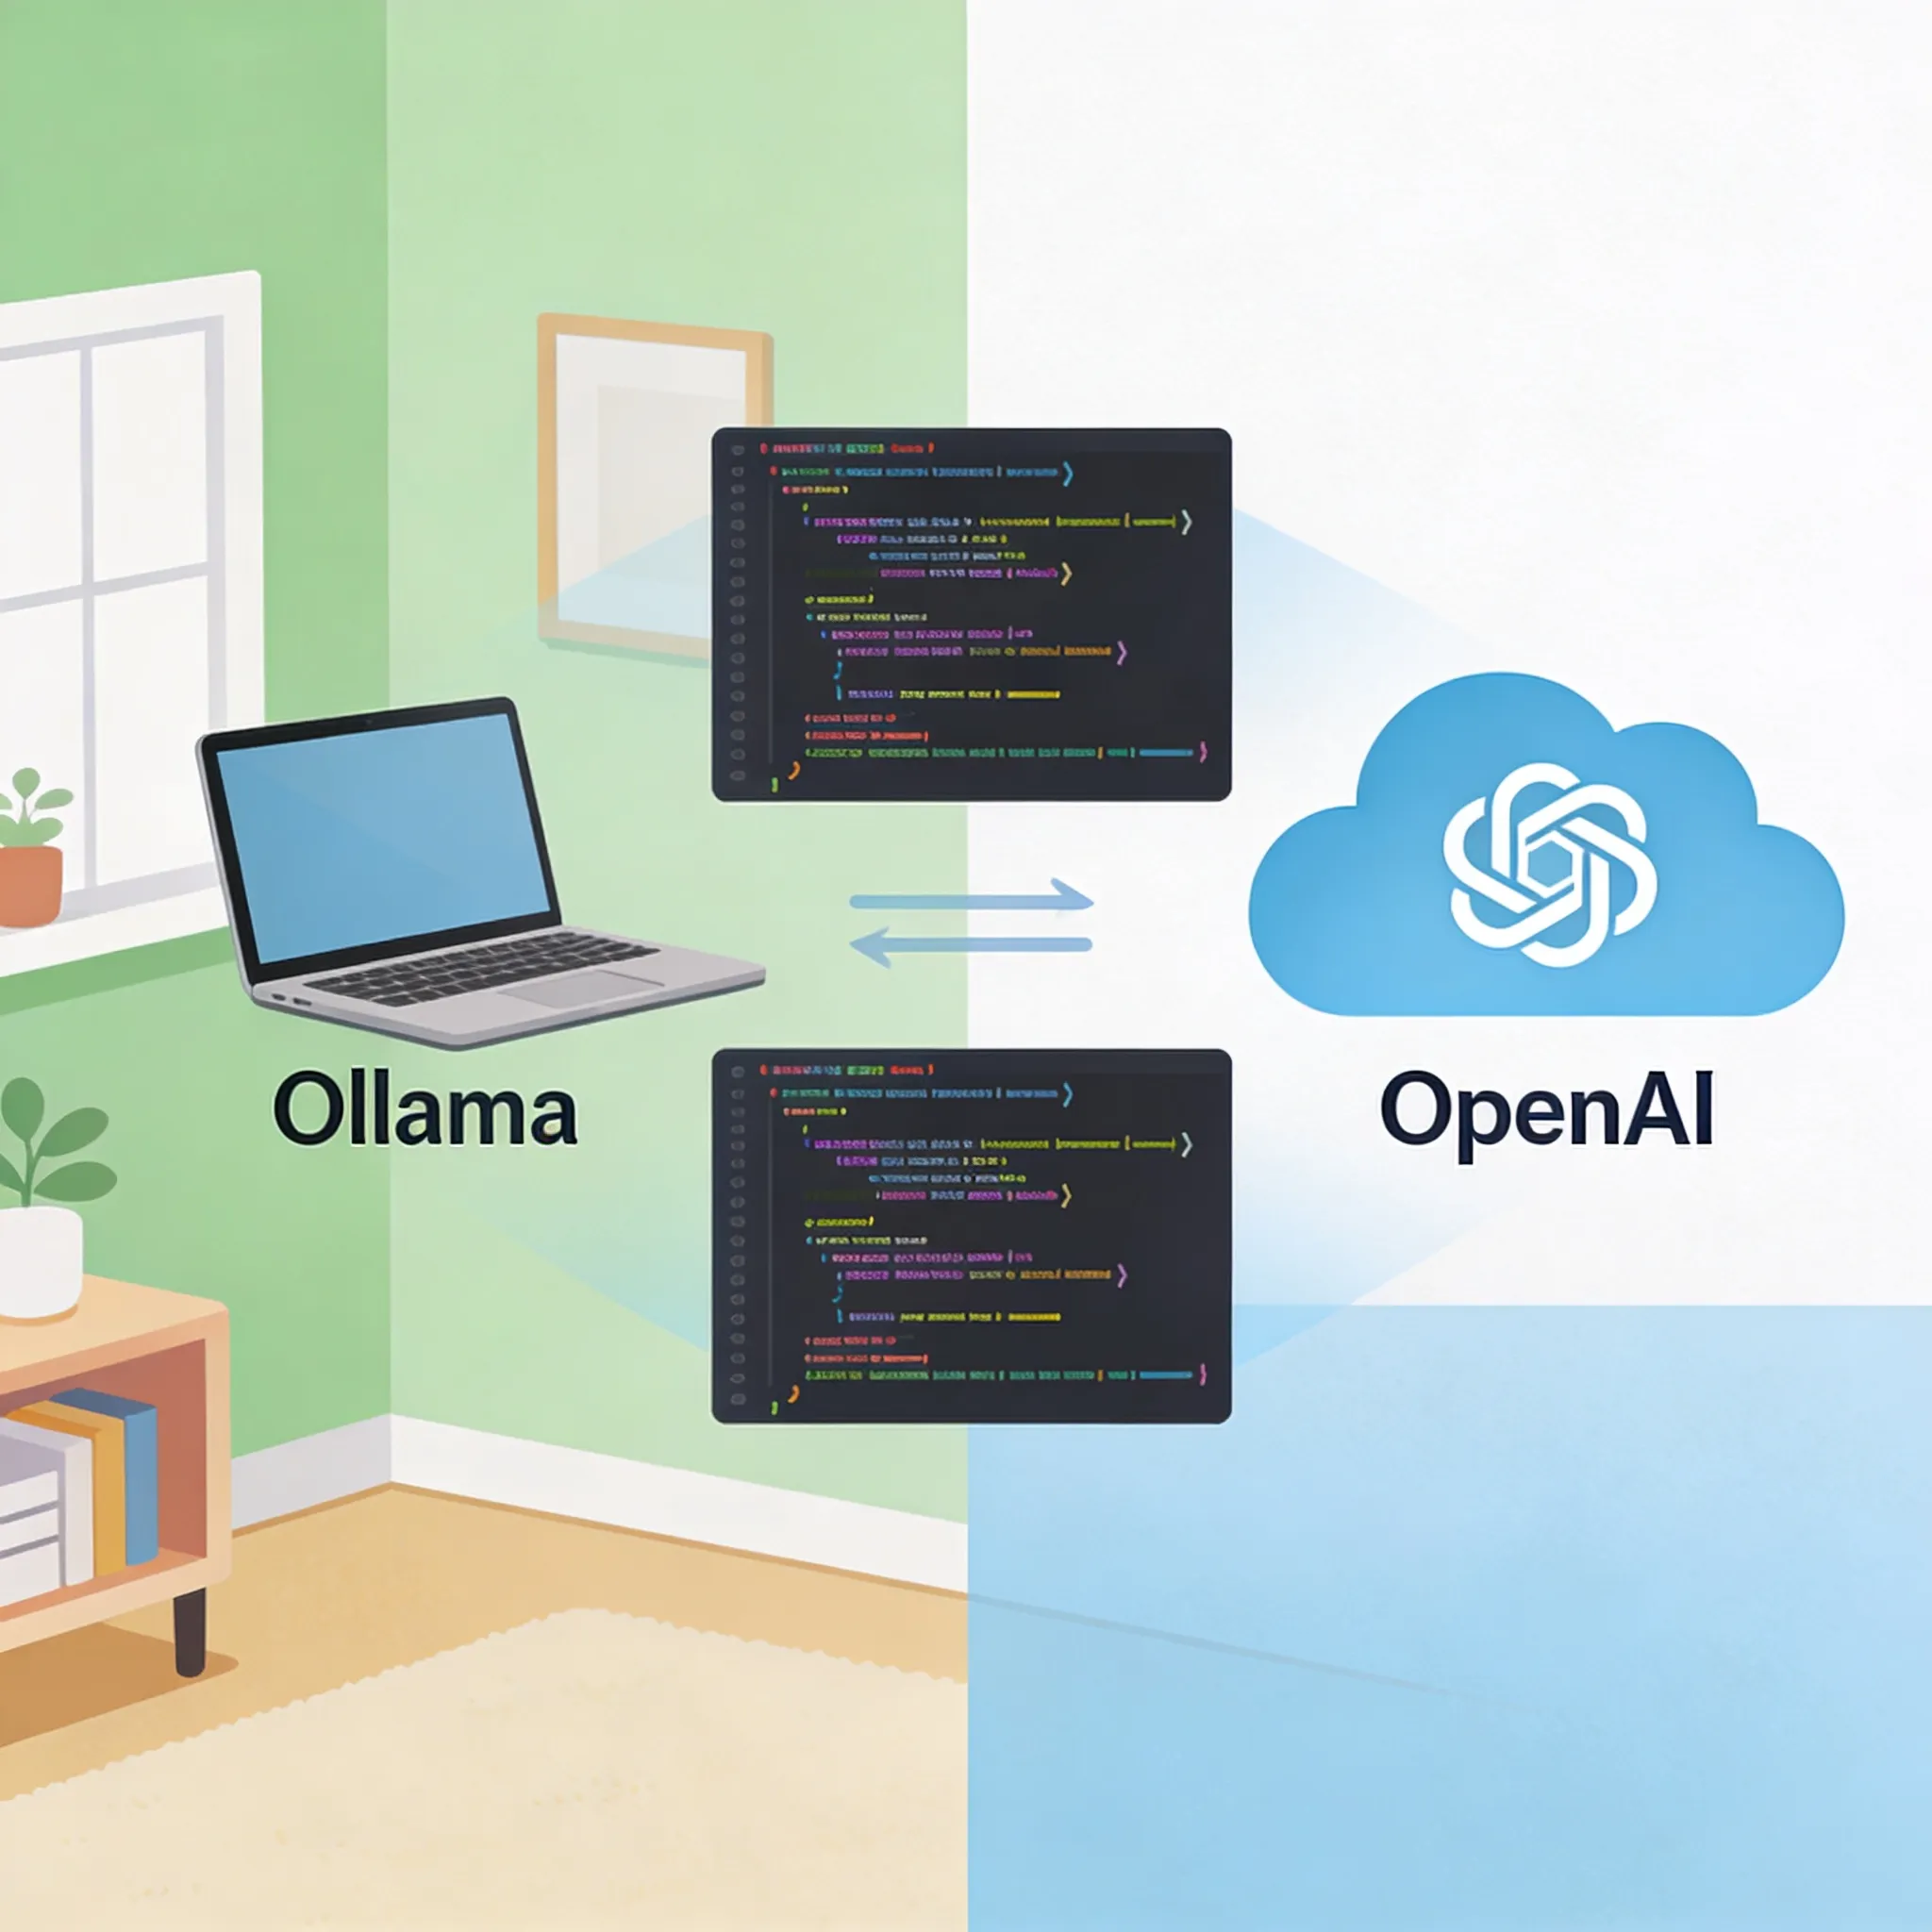
Here’s the mind-blowing part - your code doesn’t change at all. The same CustomerSupportAgent service, the same tools, the same everything. Spring AI abstracts away the underlying model provider. You’re coding to an interface, not an implementation.
This gives you incredible flexibility. Develop locally for free with Llama, then deploy to production with GPT-4o for better performance. Or use OpenRouter to access multiple providers through a single API. The choice is yours.
Conclusion
So what did we build today? We created an autonomous customer support agent that can read data from a database, reason about business rules, and take action by processing refunds. And we did it without writing any imperative control flow logic.
Here’s the key insight: AI Agents aren’t magic. They’re just new interfaces for your existing service layer. We didn’t rewrite our business logic - we just exposed it through function interfaces and let the AI decide when to use it.
With Spring AI, we got:
- Automatic JSON serialization between Java objects and LLM function calls
- A declarative approach where we describe what tools exist, not how to use them
- The ability to swap between cloud and local LLMs with just configuration changes
If you just want to see the code, you can find it on GitHub.