Using OpenRouter in Java Spring Boot: One API for ANY AI model (GPT, Claude, Gemini, etc)
Table of Contents
- The Challenge: A Multitude of AI Models, A Multitude of APIs
- What is OpenRouter? Your Universal AI Model Adapter
- Why Choose OpenRouter?
- Getting Started with OpenRouter
- Integrating OpenRouter with Spring Boot
- Running and Testing the Application
- Monitoring Usage on OpenRouter Dashboard
- Important Considerations
- Further Reading
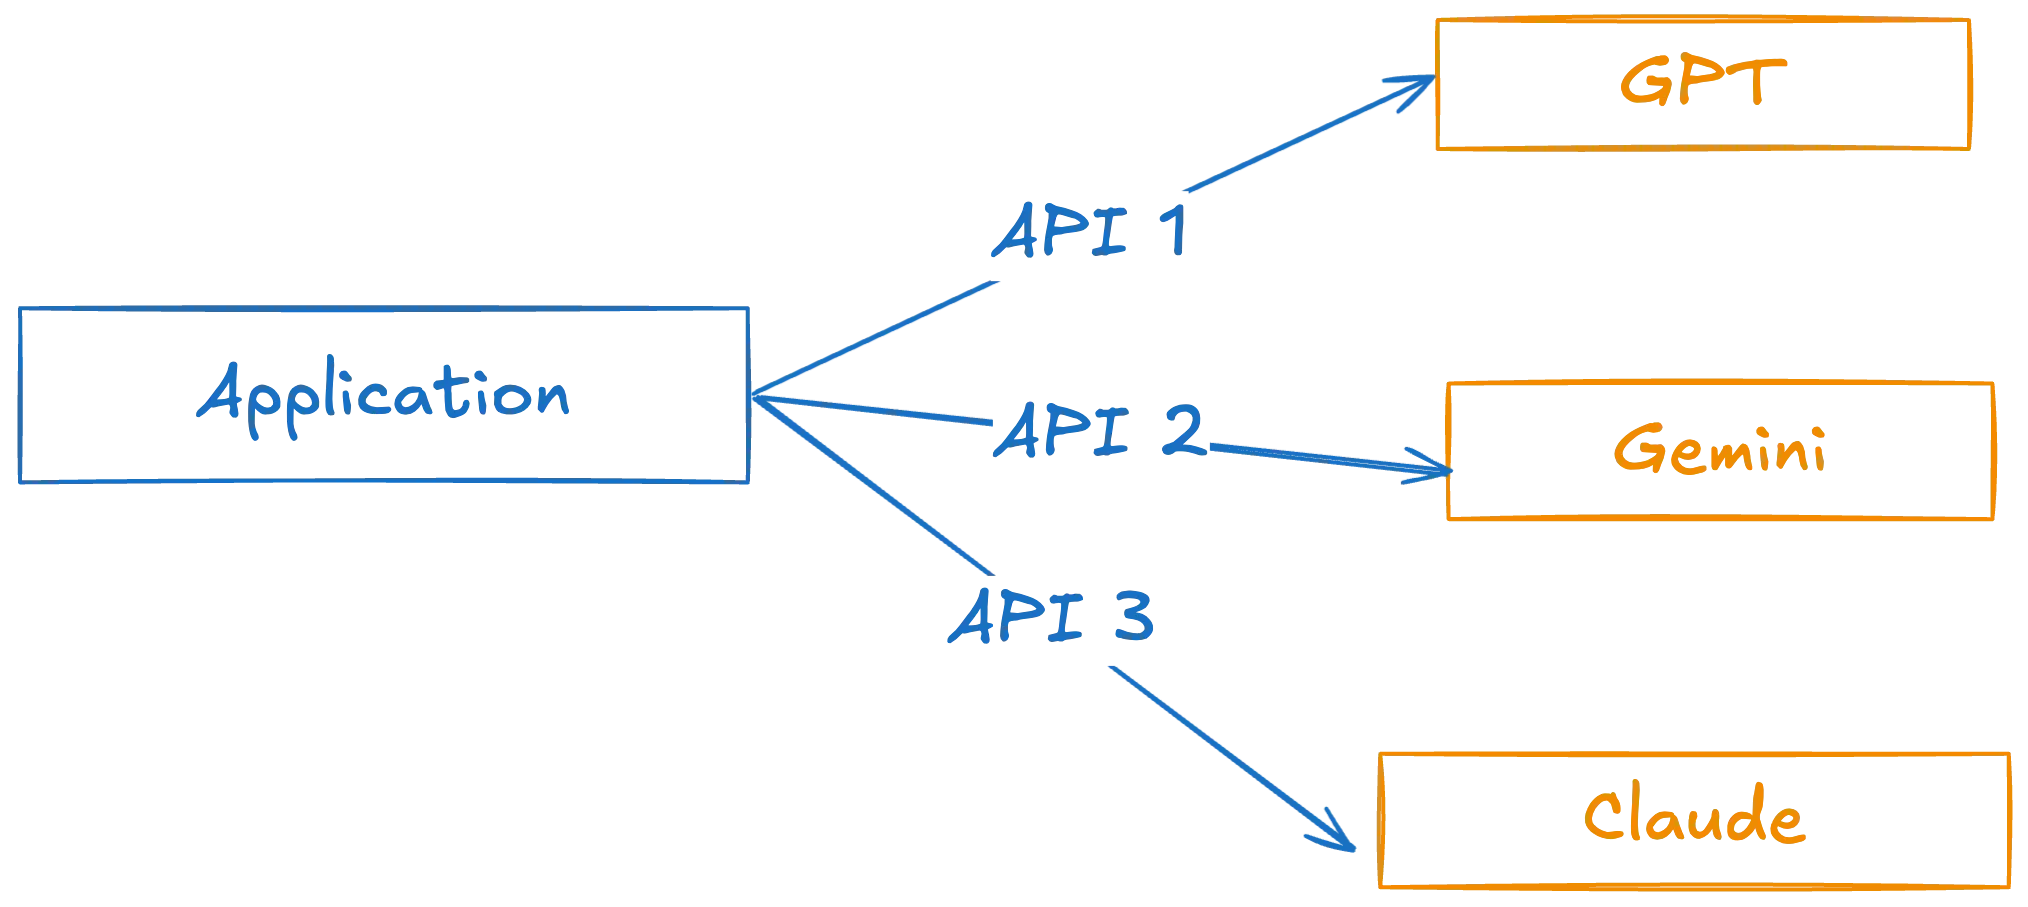
The AI landscape is evolving at a breakneck pace, with new and improved models like GPT, Gemini, Claude, and Llama emerging constantly.
While this offers incredible opportunities, integrating and switching between these models in your applications can be a significant challenge, as each often comes with its own unique API.
This post explores how OpenRouter, a universal adapter for large language models, can simplify this process.
We’ll walk through integrating OpenRouter into a Java Spring Boot application, enabling you to effortlessly switch between a vast array of AI models using a single, consistent API.
If you just want to see the code, you can view it on Github
The Challenge: A Multitude of AI Models, A Multitude of APIs
If you’ve worked with AI models, you’re familiar with the sheer number of choices available: GPT-4, Claude 3, Gemini Pro, Llama 3, and countless others, with new versions appearing almost daily. Ideally, developers want the flexibility to use the best model for their specific needs and to update models as better ones become available.
However, this flexibility often comes at a cost. Each model provider (OpenAI, Anthropic, etc) typically has its own API and SDK. Switching models means rewriting parts of your application code to accommodate these different APIs, leading to:
- Increased development time
- Complex codebase management
- Difficulty in A/B testing different models
What is OpenRouter? Your Universal AI Model Adapter
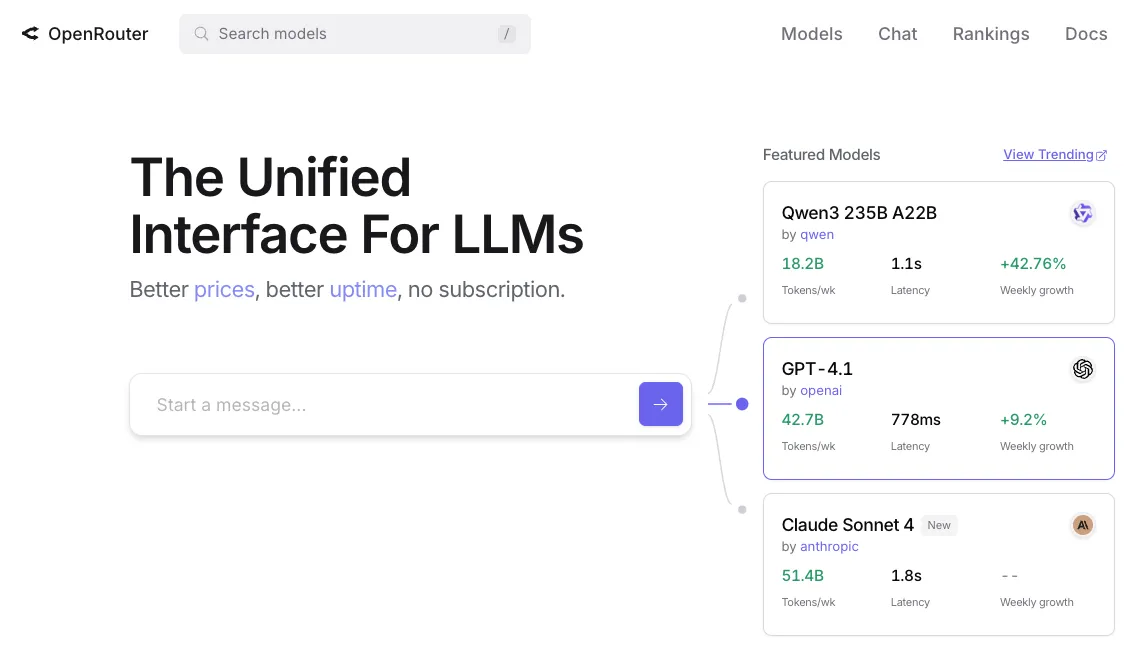
OpenRouter is a powerful solution to this problem. Think of it as a central hub or a universal adapter for large language models (LLMs).
It provides a single, unified API endpoint that is compatible with the OpenAI API specification.
This means you can integrate OpenRouter into your application once and then switch between various underlying models from different providers without changing your application’s core API integration code.
Why Choose OpenRouter?
Integrating OpenRouter offers several compelling advantages:
- Effortless Model Switching: The primary benefit. Change the target model with a simple configuration update, not code changes. This is invaluable for experimentation, A/B testing, or quickly adopting newer, more powerful models.
- Simplified API Management: Instead of juggling multiple API keys and SDKs, you manage a single OpenRouter API key.
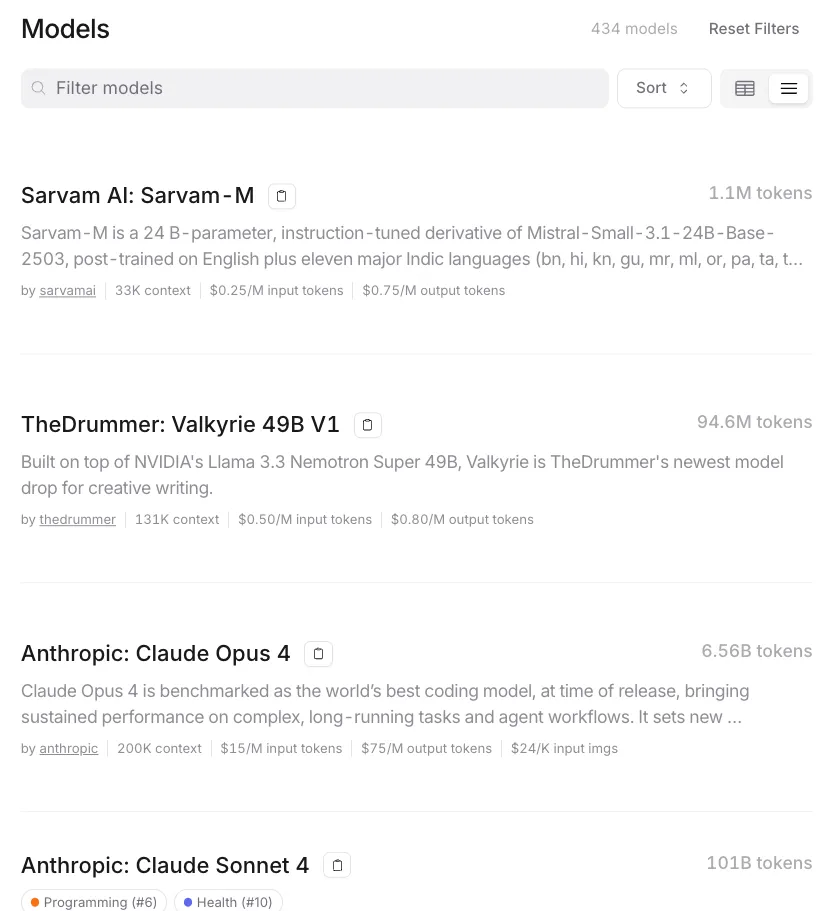
- Access to a Wide Range of Models: OpenRouter provides access to a vast catalog of models from various providers. You can easily browse models, compare their context windows, and check their pricing.
- Transparent Pricing: In most cases, the pricing through OpenRouter matches that of the original model provider.
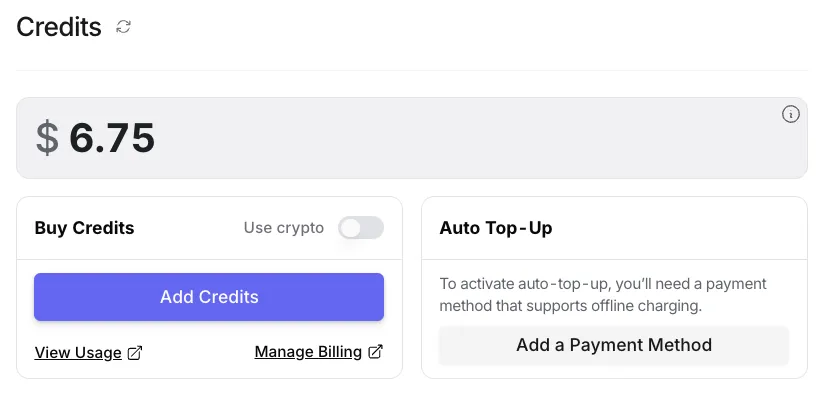
- Prepaid Credits System: A significant advantage for budget control, especially for smaller projects or experiments. You can top up your account with credits and be assured you won’t be overcharged. This contrasts with some providers who only offer pay-as-you-go, which can lead to unexpected bills if API usage spikes.
Getting Started with OpenRouter
Setting up OpenRouter is straightforward:
- Explore Models: Visit the OpenRouter website and browse the available models. You can filter by provider (e.g., OpenAI, Anthropic, Google) and see details like context window size and per-token pricing.
- Sign Up and Add Credits: Create an account. To use the API, you’ll need to add credits to your account. Navigate to the “Credits” tab and top up as needed.
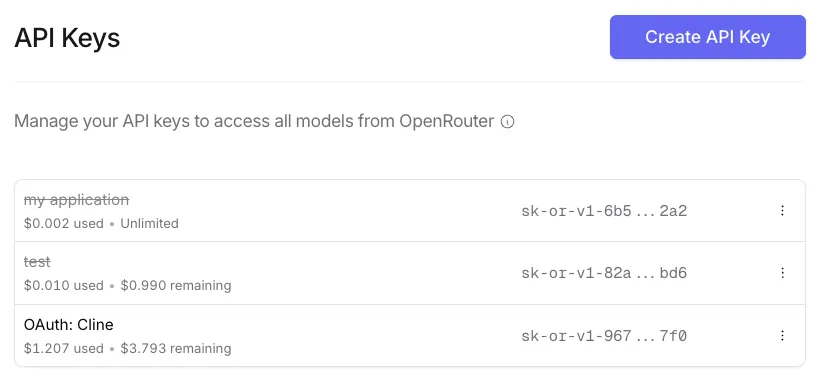
- Create an API Key: Once you have credits, go to the “Keys” section and create a new API key. Copy this key securely; you’ll need it for your application.
Integrating OpenRouter with Spring Boot
Now, let’s build a Java Spring Boot application that leverages OpenRouter through the Spring AI project.
1. Project Setup with Spring Initializr
Head over to start.spring.io to initialize your Spring Boot project. Configure your project with the following details (or your preferences):
- Project: Maven
- Language: Java
- Spring Boot: (Choose a recent stable version, e.g., 3.x.x)
- Project Metadata: Define your Group, Artifact, Name, Description.
- Packaging: Jar
- Java: (Choose a compatible version, e.g., 17 or 21)
Dependencies:
- Spring Web: For building REST APIs.
- Spring AI OpenAI Starter: OpenRouter provides an OpenAI-compatible API, so we can use the Spring AI OpenAI starter to communicate with it.
- Lombok: (Optional) To reduce boilerplate code (e.g., getters, setters, constructors).
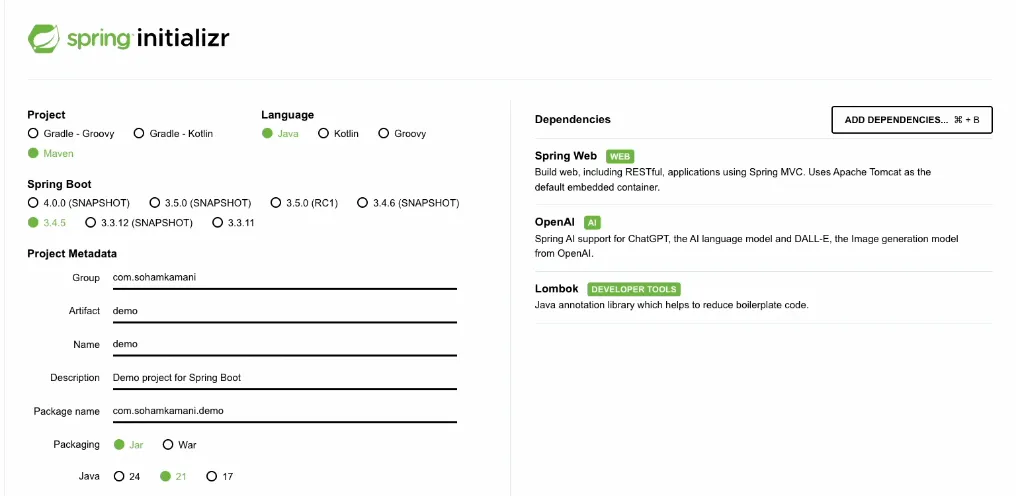
Click “GENERATE” to download the project zip, then extract it and open it in your favorite IDE.
2. Configuring Dependencies (pom.xml)
Your pom.xml file should include the dependencies you selected. Ensure you have spring-boot-starter-web and spring-ai-starter-model-openai. Lombok is optional but helpful.
<?xml version="1.0" encoding="UTF-8"?>
<project xmlns="http://maven.apache.org/POM/4.0.0" xmlns:xsi="http://www.w3.org/2001/XMLSchema-instance"
	xsi:schemaLocation="http://maven.apache.org/POM/4.0.0 https://maven.apache.org/xsd/maven-4.0.0.xsd">
	<modelVersion>4.0.0</modelVersion>
	<parent>
		<groupId>org.springframework.boot</groupId>
		<artifactId>spring-boot-starter-parent</artifactId>
		<version>3.4.5</version> <!-- Or your chosen Spring Boot version -->
		<relativePath/> <!-- lookup parent from repository -->
	</parent>
	<groupId>com.example</groupId> <!-- Your group ID -->
	<artifactId>openrouter-demo</artifactId> <!-- Your artifact ID -->
	<version>0.0.1-SNAPSHOT</version>
	<name>openrouter-demo</name>
	<description>Demo project for Spring Boot with OpenRouter</description>

	<properties>
		<java.version>21</java.version> <!-- Or your chosen Java version -->
		<spring-ai.version>1.0.0-M7</spring-ai.version> <!-- Check for latest Spring AI version -->
	</properties>

	<dependencies>
		<dependency>
			<groupId>org.springframework.boot</groupId>
			<artifactId>spring-boot-starter-web</artifactId>
		</dependency>
		<dependency>
			<groupId>org.springframework.ai</groupId>
			<artifactId>spring-ai-starter-model-openai</artifactId>
		</dependency>
		<dependency>
			<groupId>org.projectlombok</groupId>
			<artifactId>lombok</artifactId>
			<optional>true</optional>
		</dependency>
		<dependency>
			<groupId>org.springframework.boot</groupId>
			<artifactId>spring-boot-starter-test</artifactId>
			<scope>test</scope>
		</dependency>
	</dependencies>

	<dependencyManagement>
		<dependencies>
			<dependency>
				<groupId>org.springframework.ai</groupId>
				<artifactId>spring-ai-bom</artifactId>
				<version>${spring-ai.version}</version>
				<type>pom</type>
				<scope>import</scope>
			</dependency>
		</dependencies>
	</dependencyManagement>

	<build>
		<plugins>
			<plugin>
				<groupId>org.springframework.boot</groupId>
				<artifactId>spring-boot-maven-plugin</artifactId>
				<configuration>
					<excludes>
						<exclude>
							<groupId>org.projectlombok</groupId>
							<artifactId>lombok</artifactId>
						</exclude>
					</excludes>
				</configuration>
			</plugin>
		</plugins>
	</build>
</project>
Note: Always check for the latest stable versions of Spring Boot and Spring AI. The versions above are illustrative.
3. Application Configuration
Create or open src/main/resources/application.properties and add the following configurations:
# Spring AI Configuration for OpenRouter
# IMPORTANT: Replace 'YOUR_OPENROUTER_API_KEY_HERE' with your actual OpenRouter API key.
spring.ai.openai.api-key=YOUR_OPENROUTER_API_KEY_HERE

# Point Spring AI to the OpenRouter base URL
spring.ai.openai.base-url=https://openrouter.ai/api

# Default chat model to use via OpenRouter
# Get model IDs from the OpenRouter website (e.g., "anthropic/claude-3-sonnet", "google/gemini-pro")
spring.ai.openai.chat.options.model=anthropic/claude-3-haiku-20240307 # Example model

# Optional: Adjust temperature, max tokens, etc.
# spring.ai.openai.chat.options.temperature=0.7
# spring.ai.openai.chat.options.max-tokens=1024

# Server Port (Optional, defaults to 8080 if not set)
server.port=8080
To find the spring.ai.openai.chat.options.model value:
- Go to the OpenRouter models page.
- Choose a model you want to use (e.g., Claude 3 Sonnet).
- Copy its “Model ID” (it usually looks like
provider/model-name). - Paste this ID into the
application.propertiesfile.
For more details on Spring AI configuration options, refer to the official Spring AI documentation.
4. Developing the REST API
Let’s create a simple REST controller that accepts a prompt, sends it to the configured OpenRouter model via Spring AI, and returns the AI’s response.
package com.example.openrouterdemo; // Your package structure

import org.slf4j.Logger;
import org.slf4j.LoggerFactory;
import org.springframework.ai.chat.model.ChatModel;
import org.springframework.boot.SpringApplication;
import org.springframework.boot.autoconfigure.SpringBootApplication;
import org.springframework.http.HttpStatus;
import org.springframework.http.ResponseEntity;
import org.springframework.web.bind.annotation.PostMapping;
import org.springframework.web.bind.annotation.RequestBody;
import org.springframework.web.bind.annotation.RequestMapping;
import org.springframework.web.bind.annotation.RestController;

import lombok.AllArgsConstructor;
import lombok.Data;
import lombok.NoArgsConstructor;

@SpringBootApplication
@RestController
@RequestMapping("/api/ai")
public class DemoApplication {

    private final ChatModel chatModel; // Autowired by Spring Boot
    private static final Logger log = LoggerFactory.getLogger(DemoApplication.class);

    public DemoApplication(ChatModel chatModel) {
        this.chatModel = chatModel;
        log.info("DemoApplication initialized with Spring AI ChatModel, targeting OpenRouter.");
    }

    public static void main(String[] args) {
        SpringApplication.run(DemoApplication.class, args);
    }

    /**
     * Data Transfer Object for the chat request.
     */
    @Data
    @NoArgsConstructor
    @AllArgsConstructor
    public static class ChatRequest {
        private String message;
    }

    /**
     * Internal method to call the AI model.
     */
    private String getChatCompletion(String userMessage) {
        log.info("Sending prompt to OpenRouter model: '{}'", userMessage.substring(0, Math.min(userMessage.length(), 100)) + "...");
        try {
            // The Spring AI ChatModel handles the call to OpenRouter based on application.properties
            return this.chatModel.call(userMessage);
        } catch (Exception e) {
            log.error("Error calling OpenRouter via Spring AI: {}", e.getMessage(), e);
            throw new RuntimeException("Failed to get completion from AI service: " + e.getMessage(), e);
        }
    }

    /**
     * REST API endpoint to interact with the AI model.
     */
    @PostMapping("/chat")
    public ResponseEntity<String> chatWithAi(@RequestBody ChatRequest chatRequest) {
        if (chatRequest == null || chatRequest.getMessage() == null || chatRequest.getMessage().isBlank()) {
            log.warn("Received empty or null chat request message.");
            return ResponseEntity.badRequest().body("Message content cannot be empty.");
        }

        log.info("Processing chat request for message: '{}'", chatRequest.getMessage().substring(0, Math.min(chatRequest.getMessage().length(), 100)) + "...");
        try {
            String response = getChatCompletion(chatRequest.getMessage());
            return ResponseEntity.ok(response);
        } catch (Exception e) {
            // Error already logged in getChatCompletion
            return ResponseEntity.status(HttpStatus.INTERNAL_SERVER_ERROR)
                    .body("Sorry, an error occurred while communicating with the AI service.");
        }
    }
}
Key points in this code:
@SpringBootApplication,@RestController,@RequestMapping: Standard Spring Boot annotations.ChatModel chatModel: This is injected by Spring Boot. Spring AI configures it based on yourapplication.propertiesto point to OpenRouter.ChatRequest: A simple DTO to receive the user’s message in the POST request body.chatWithAimethod: This is our API endpoint. It takes theChatRequest, calls thechatModel.call()method with the user’s message, and returns the AI’s response.- Error handling and logging are included for robustness.
Running and Testing the Application
-
Start the Application: Open your terminal in the project’s root directory and run:
mvn spring-boot:runYour Spring Boot application should start, typically on port 8080.
-
Send a Test Request: Use a tool like
curlor Postman to send a POST request to your/api/ai/chatendpoint.Example using
curl:curl -X POST http://localhost:8080/api/ai/chat \ -H "Content-Type: application/json" \ -d '{ "message": "Tell us a fun fact about the Python programming language." }'You should receive a JSON response containing the AI-generated text. For instance, if you configured Claude, it might respond with:
Here's a fun fact about the Python programming language:

Python is named after the British comedy group Monty Python's Flying Circus, not the snake!

Guido van Rossum, the creator of Python, was a big fan of the show and wanted a name that was "short, unique, and slightly mysterious."
The actual response will vary based on the model and its current knowledge.
Monitoring Usage on OpenRouter Dashboard
One of the cool features of OpenRouter is its dashboard, where you can monitor your API usage in near real-time. After making a few calls, check your OpenRouter account. You should see:
- Which models were called.
- The number of input and output tokens used.
- The cost incurred for each call.
- Latency information.
- Overall statistics.
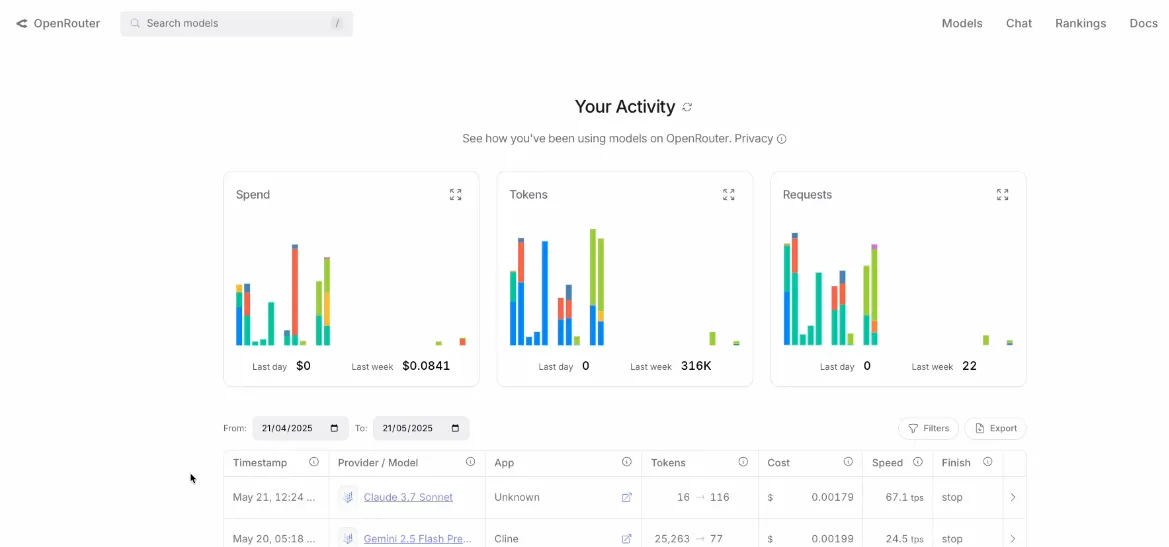
This is incredibly helpful for tracking expenses and understanding model performance.
Important Considerations
While OpenRouter offers significant convenience, keep these points in mind:
- Intermediary Service: OpenRouter acts as a layer between your application and the actual AI model provider. This introduces an additional network hop, which could marginally affect latency. For most applications, this is negligible, but for ultra-low-latency requirements, direct integration might be considered.
- Security and Privacy: If your application handles highly sensitive data or operates under strict security/privacy regulations, evaluate whether routing data through an intermediary like OpenRouter aligns with your compliance requirements. Always review the terms of service and privacy policies of any third-party service.
Further Reading
- OpenRouter Website
- Spring AI Project Documentation
- List of Models on OpenRouter (for the latest model IDs and information)